
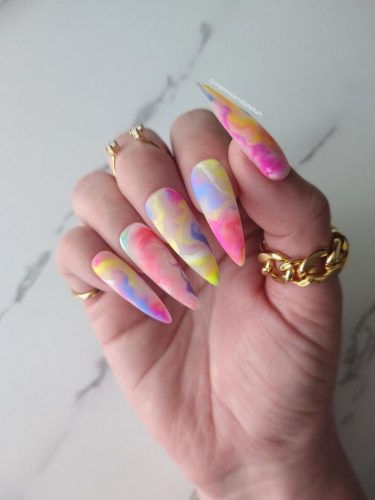
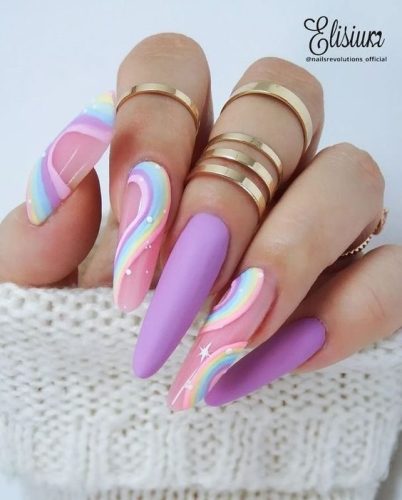
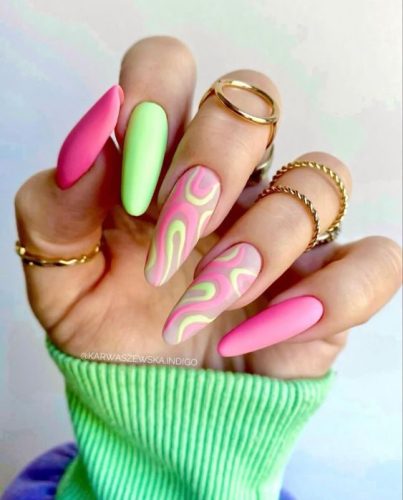
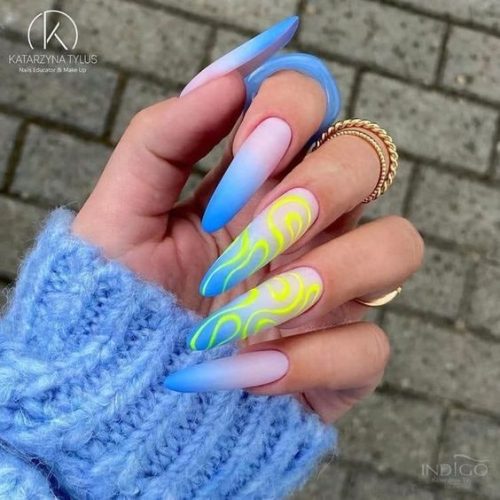
Neon Marble Nails have taken the world of nail art by storm, combining vibrant neon colors and the captivating beauty of marble patterns. This unique and eye-catching nail trend has become a favorite among fashion enthusiasts and beauty aficionados. In this comprehensive guide, we’ll delve into the art of creating stunning Neon Marble Nails, step-by-step techniques, and essential tips to achieve the perfect look. Whether you’re a nail art enthusiast or a professional, read on to discover how to rock this stylish trend with finesse.
Section 1: Understanding Neon Marble Nails
Neon Marble Nails are a contemporary twist on classic marble nail art, infusing it with bright and lively neon hues. This dynamic combination offers a fresh and playful appearance that suits any occasion, from casual outings to glamorous events. The mesmerizing swirls and patterns create a seamless blend of colors, making each design a unique masterpiece on your fingertips.
Section 2: Getting Started – Essential Tools and Materials
To embark on your Neon Marble Nails journey, gather the necessary tools and materials. You’ll need neon nail polishes in your desired colors, a white base coat, a clear topcoat, a small nail art brush or toothpick, a glass of water, and tape or liquid latex to protect your skin from excessive polish residue.
Section 3: Step-by-Step Guide to Creating Neon Marble Nails
- Prepare Your Nails: Begin by shaping your nails, pushing back cuticles, and applying a clear base coat. This will help protect your natural nails and ensure your nail art lasts longer.
- Apply White Base Coat: To make the neon colors pop, apply a coat of white nail polish as a base. Allow it to dry completely.
- Marble Nail Technique:a. Fill the Glass with Water: Take a glass of room temperature water and drop small amounts of neon nail polish on the surface, forming rings of different colors.b. Create the Marble Effect: Use a toothpick or nail art brush to gently swirl the colors on the water’s surface, forming a unique marble pattern.c. Dip Your Nail: Align your nail with the desired section of the marble pattern and slowly dip it into the water at a 45-degree angle.d. Remove Excess Polish: With your nail still submerged, use the toothpick to remove excess polish from the water’s surface.e. Remove Your Nail: Carefully lift your nail out of the water, and the marble pattern should now adhere to your nail.
- Clean Up: Remove any polish residue from your fingers using a cotton swab dipped in nail polish remover. Alternatively, you can use tape or liquid latex as a barrier around your nail to minimize cleanup.
- Seal the Design: Allow your neon marble nails to dry for a few minutes before applying a clear topcoat to seal and protect the design.
Section 4: Pro Tips for Perfect Neon Marble Nails
- Experiment with different color combinations to create unique and eye-catching designs.
- For a smoother application, use high-quality neon nail polishes with a good consistency.
- Avoid excessive swirling in the water, as it may result in a messy design. Less is often more with marble patterns.
- Don’t forget to moisturize your hands and nails regularly to maintain the beauty of your Neon Marble Nails.
Conclusion:
Neon Marble Nails are an exciting and visually stunning nail art trend that brings together the best of both worlds – the boldness of neon colors and the timeless elegance of marble patterns. With this comprehensive guide, you’re now equipped with the knowledge and techniques to create your own captivating designs. So, unleash your creativity and flaunt your trendy Neon Marble Nails with confidence at any event or celebration!