
Discover the captivating world of ombre nails, a nail art trend that has taken the beauty industry by storm. Ombre nails offer a seamless blend of colours, creating a striking gradient effect that can elevate your nail game to new heights. In this article, we will delve into the art of creating exquisite ombre nails and share expert tips to help you achieve a salon-quality look from the comfort of your home.
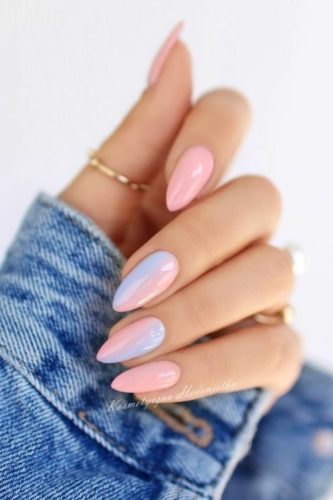
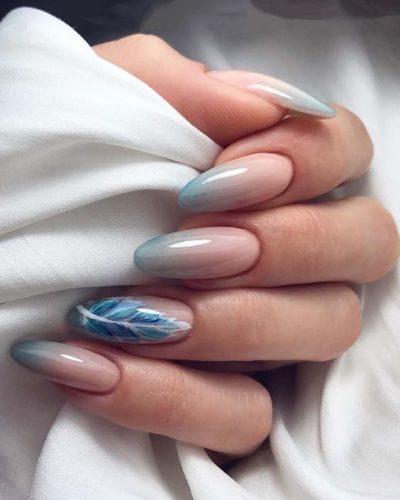
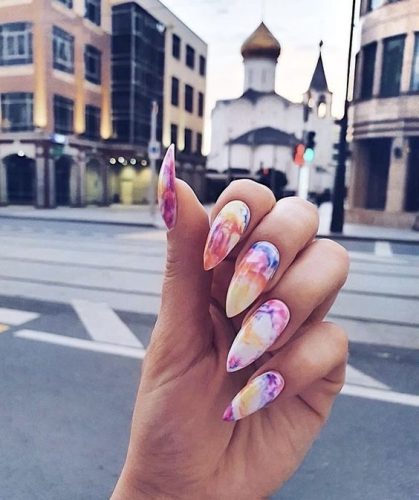
What are Ombre Nails? Ombre nails, a French term meaning “shaded,” involve the skillful blending of two or more nail polish shades to create a gradient effect. The result is a visually appealing transition from one hue to another, adding depth and dimension to your nails. Ombre nails offer endless possibilities for creativity, allowing you to experiment with various colour combinations and styles.
Steps to Achieve Perfect Ombre Nails:
- Gather Your Supplies: Prepare a range of nail polish colours that complement each other and a makeup sponge specifically designed for nail art.
- Base Coat Application: Begin with a clear base coat to protect your nails and provide a smooth canvas for the ombre effect.
- Sponge Technique: Apply the chosen colours onto the makeup sponge in a gradient pattern, with the darkest shade at the tip and the lightest shade near the cuticle.
- Dab and Blend: Gently dab the sponge onto your nails in a rolling motion, allowing the colours to blend seamlessly. Repeat until the desired intensity is achieved.
- Cleanup: Use a clean-up brush dipped in nail polish remover to tidy up any excess polish on the skin around your nails.
- Top Coat: Seal your ombre design with a glossy top coat to protect the colours and enhance the overall appearance.
Expert Tips for Ombre Nail Success:
Start with a white base coat to make the colours pop and create a smoother gradient.
- Experiment with different sponge densities for varying degrees of colour blending.
- Practice the technique on a practice wheel before attempting it on your nails.
- Use nail guides or tape for cleaner lines and a more precise ombre effect.
- Don’t hesitate to combine contrasting colours for a bold and unique look.
Conclusion: Mastering the art of ombre nails can add a touch of sophistication and creativity to your personal style. With the right tools and techniques, you can achieve professional-looking ombre nails that are sure to turn heads. Embrace the trend and unleash your inner nail artist to create stunning gradient effects that showcase your individuality. Elevate your nail game with ombre nails – a versatile and visually captivating trend that’s here to stay.