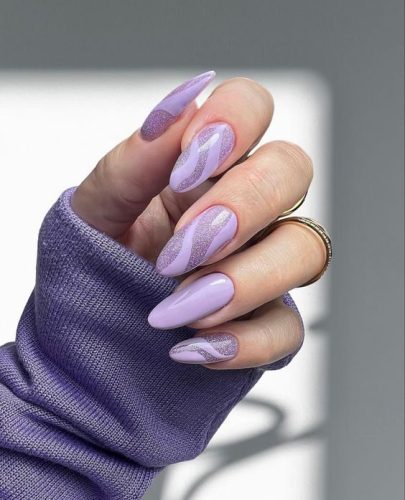
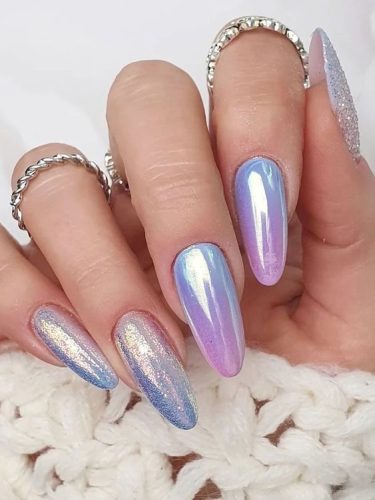
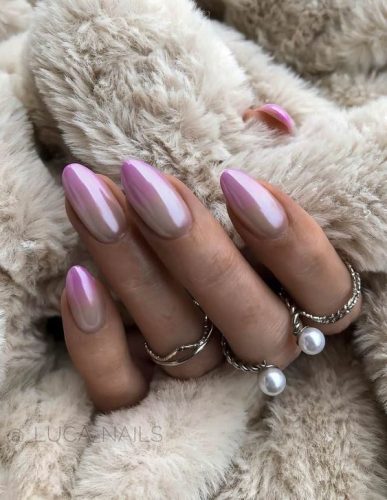
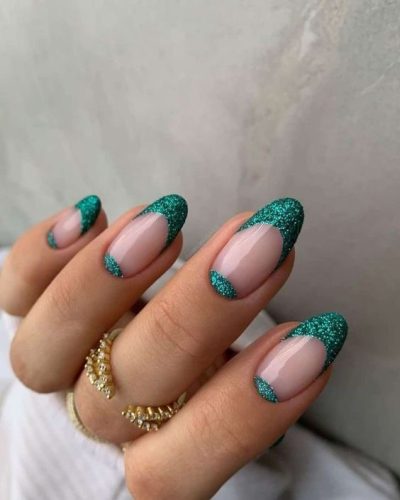
In the world of fashion and beauty, nails have emerged as a canvas for artistic expression. One stunning trend that’s taken the nail industry by storm is “Pretty Glitter Ombre Nails.” These dazzling nails combine the elegance of ombre with the sparkle of glitter, creating a mesmerizing effect that’s hard to resist. In this article, we’ll delve into the world of Pretty Glitter Ombre Nails, exploring the trend’s popularity, the step-by-step process of achieving them, and some inspiring design ideas to help you rock this trend. Get ready to elevate your nail game to the next level!

The Allure of Pretty Glitter Ombre Nails:
Pretty Glitter Ombre Nails are a perfect blend of sophistication and sparkle. They offer a versatile style that can suit any occasion, from casual outings to formal events. Here’s why they’re capturing the hearts of nail enthusiasts worldwide:
- Mesmerizing Visual Appeal: The gradual transition of colors in ombre nails, coupled with the glitter accents, creates a mesmerizing, eye-catching effect that’s both chic and glamorous.
- Versatility: Pretty Glitter Ombre Nails can be customized to match your personal style. You can choose subtle, understated shades or go bold and vibrant, making them suitable for all tastes.
- Long-Lasting Shine: Glitter accents not only add sparkle but also help to seal and protect your nail polish, making your manicure last longer.
How to Achieve Pretty Glitter Ombre Nails:

Now that you’re intrigued by the allure of Pretty Glitter Ombre Nails, let’s go through the step-by-step process to achieve this stunning look:
Materials You’ll Need:
- Base coat
- Two or more nail polish colors (for the ombre effect)
- Glitter nail polish or loose glitter
- Makeup sponge
- Top coat
- Nail polish remover and cleanup brush (for touch-ups)
Step 1: Prepare Your Nails
- Start with clean, dry nails.
- Apply a base coat to protect your natural nails and enhance polish adhesion.
Step 2: Choose Your Colors
- Select the nail polish colors you want for your ombre effect. You can choose two or more shades that blend well together.
Step 3: Create the Ombre Base
- Apply the lightest color as the base coat.
- Let it dry completely.
Step 4: Create the Ombre Effect
- Dab your chosen colors onto a makeup sponge, overlapping them slightly.
- Gently press the sponge onto your nail, moving it up and down to blend the colors seamlessly.
- Repeat this step until you achieve the desired ombre effect.
Step 5: Add the Glitter
- Apply the glitter nail polish or loose glitter to the sponge.
- Gently dab it onto your nails, concentrating more on the tips for a gradient effect.
Step 6: Seal the Look
- Once your nails are dry, apply a top coat to seal and protect your Pretty Glitter Ombre Nails.
Inspiring Pretty Glitter Ombre Nail Designs:

Looking for some creative inspiration? Here are a few design ideas to spark your creativity:
- Subtle Elegance: Opt for soft pastel shades with a touch of silver glitter for an understated yet elegant look.
- Bold and Vibrant: Choose bright, contrasting colors and bold glitter for a striking, eye-catching manicure.
- French Tip Ombre: Create a French tip ombre by focusing the glitter on the nail tips for a unique twist on this trend.

Conclusion:
Pretty Glitter Ombre Nails are a delightful fusion of two nail trends that have taken the beauty world by storm. With their versatility and captivating aesthetics, they’re here to stay. Whether you’re preparing for a special event or just want to add a touch of glamour to your everyday look, Pretty Glitter Ombre Nails are a fabulous choice. Follow our step-by-step guide, get creative with your designs, and let your nails shine like never before!
