
Nail art is an ever-evolving field of beauty that constantly introduces new trends and techniques. One of the hottest trends that has taken the beauty world by storm is ombre nails.
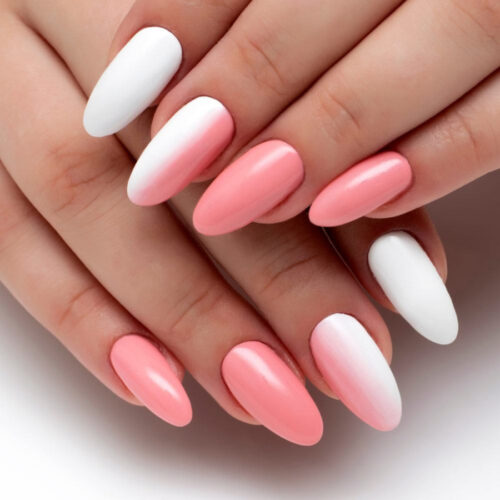
This style involves a gradient effect of two or more colors on the nails, resulting in a unique and eye-catching look. If you want to try this trend for yourself, read on for our ultimate guide to achieving ombre nails.

Step 1: Gather Your Supplies
Before starting your ombre nails, you need to gather all the necessary supplies. Here’s a list of what you’ll need:
- Two or more nail polish colors (preferably in the same color family)
- A makeup sponge
- Nail polish remover
- Cotton swabs
- Clear topcoat
Step 2: Prep Your Nails

To ensure that your ombre nails come out looking their best, you need to prepare your nails properly. Start by removing any old nail polish with nail polish remover.
Then, file your nails to the desired shape and buff the surface of your nails with a buffer. Finally, apply a base coat to your nails and let it dry completely.
Step 3: Choose Your Colors
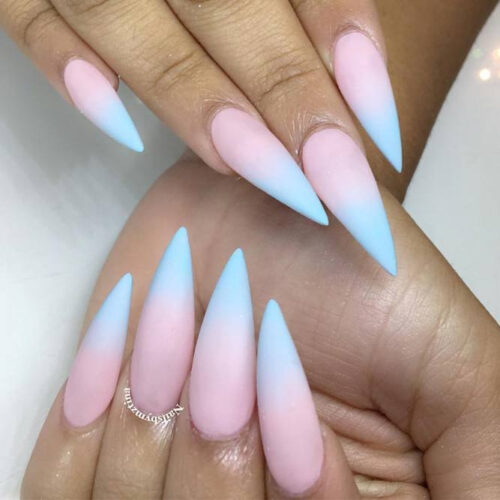
When choosing colors for your ombre nails, it’s important to select colors that complement each other. Ideally, you should choose colors that are in the same color family.
For example, if you want to create an ombre effect with blue shades, you could use navy blue, cobalt blue, and baby blue. However, you can experiment with different color combinations until you find one that you love.
Step 4: Paint Your Sponge

Once you’ve chosen your colors, it’s time to paint your makeup sponge. Apply a stripe of each color onto the sponge, making sure to overlap them slightly. This will help create a seamless transition between colors.
Step 5: Sponge Your Nails
To create the ombre effect, you’ll need to sponge the colors onto your nails. Start by painting a stripe of each color directly onto your nails in the order that you want them to appear.
Then, take your makeup sponge and dab it onto your nails, starting at the base of your nails and moving upward. Make sure to blend the colors together as you sponge, using a light touch to avoid smudging the colors.
Step 6: Clean Up Your Nails
After sponging your nails, there may be some excess polish on your skin. You can use a cotton swab dipped in nail polish remover to clean up any excess polish around your nails.
This will help create a clean, professional look.
Step 7: Apply Topcoat
Finally, apply a clear topcoat to your nails to protect the design and make it last longer. Let the topcoat dry completely before doing anything with your hands.
And there you have it – a simple tutorial on how to achieve the hottest nail trend – ombre nails. Now that you know the basics, you can experiment with different color combinations and create your own unique ombre designs.
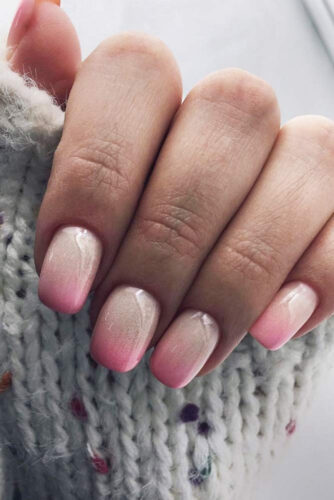
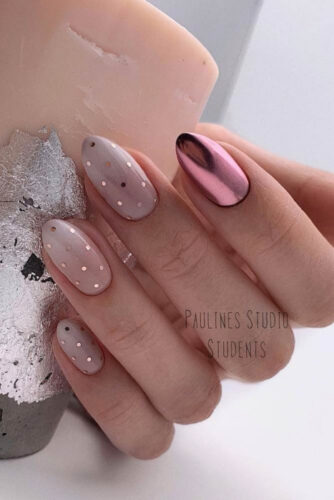
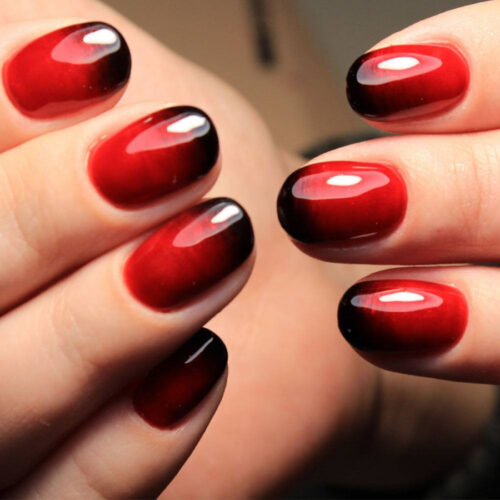
Don’t forget to check out our collection of 60 photos of beautiful ombre nails for inspiration. Try this trend and make your nails look glamorous!